Factors Affecting Painting Time: How Long To Paint A Bedroom

The time required to paint a bedroom depends on various factors, including the size of the room, the condition of the walls, the number of paint coats needed, the complexity of the project, and the tools and equipment used. Understanding these factors can help you estimate the time needed and plan accordingly.
Room Size and Ceiling Height
The size of the bedroom, measured in square footage, is a primary factor influencing painting time. A larger room naturally requires more time to cover with paint. Ceiling height also plays a role, as painting higher ceilings can be more time-consuming. For example, a 100 square foot bedroom with an 8-foot ceiling will likely take less time to paint than a 200 square foot bedroom with a 10-foot ceiling.
Wall Condition
The condition of the walls significantly impacts painting time. If the walls are in good condition, requiring only a light cleaning, the painting process will be faster. However, if the walls need preparation, such as patching holes, sanding uneven surfaces, or applying primer, it will add to the overall painting time. For instance, a bedroom with numerous cracks and holes that need patching and sanding before painting will take longer than a room with smooth, well-maintained walls.
Number of Paint Coats
The number of paint coats required depends on the existing wall color and the desired finish. If the existing wall color is similar to the new color, one coat might suffice. However, if the existing color is significantly different or if a specific finish is desired, such as a high-gloss finish, multiple coats may be necessary. For example, painting a white wall with a dark blue color will typically require two or more coats to achieve a consistent and opaque finish.
Painting Project Complexity
The complexity of the painting project, including the presence of trim, moldings, or intricate designs, affects the time needed. Painting trim and moldings requires careful attention and precision, adding to the overall painting time. Similarly, intricate designs or patterns require additional time for masking and careful application. For example, a bedroom with detailed crown molding, chair rails, and wainscoting will take longer to paint than a room with simple walls and minimal trim.
Painting Tools and Equipment
The choice of painting tools and equipment can also impact painting time. Using high-quality brushes and rollers, along with appropriate paint trays and extension poles, can make the process more efficient. For instance, using a high-quality roller with a thick nap can cover a larger area in less time compared to a brush.
Estimated Painting Time
The following table provides estimated painting time based on different room sizes and paint types:
| Room Size (Square Feet) | Paint Type | Estimated Painting Time (Hours) |
|---|---|---|
| 100 | Single Coat | 2-4 |
| 100 | Multiple Coats | 4-6 |
| 200 | Single Coat | 4-8 |
| 200 | Multiple Coats | 8-12 |
| 300 | Single Coat | 6-12 |
| 300 | Multiple Coats | 12-18 |
Note: These are estimated times and can vary depending on the specific factors discussed above.
Painting Techniques and Steps
Painting a bedroom requires a systematic approach to achieve a professional finish. Proper preparation, application techniques, and careful attention to detail are crucial for a successful paint job. This section Artikels a step-by-step guide to help you navigate the painting process.
Preparing the Bedroom for Painting
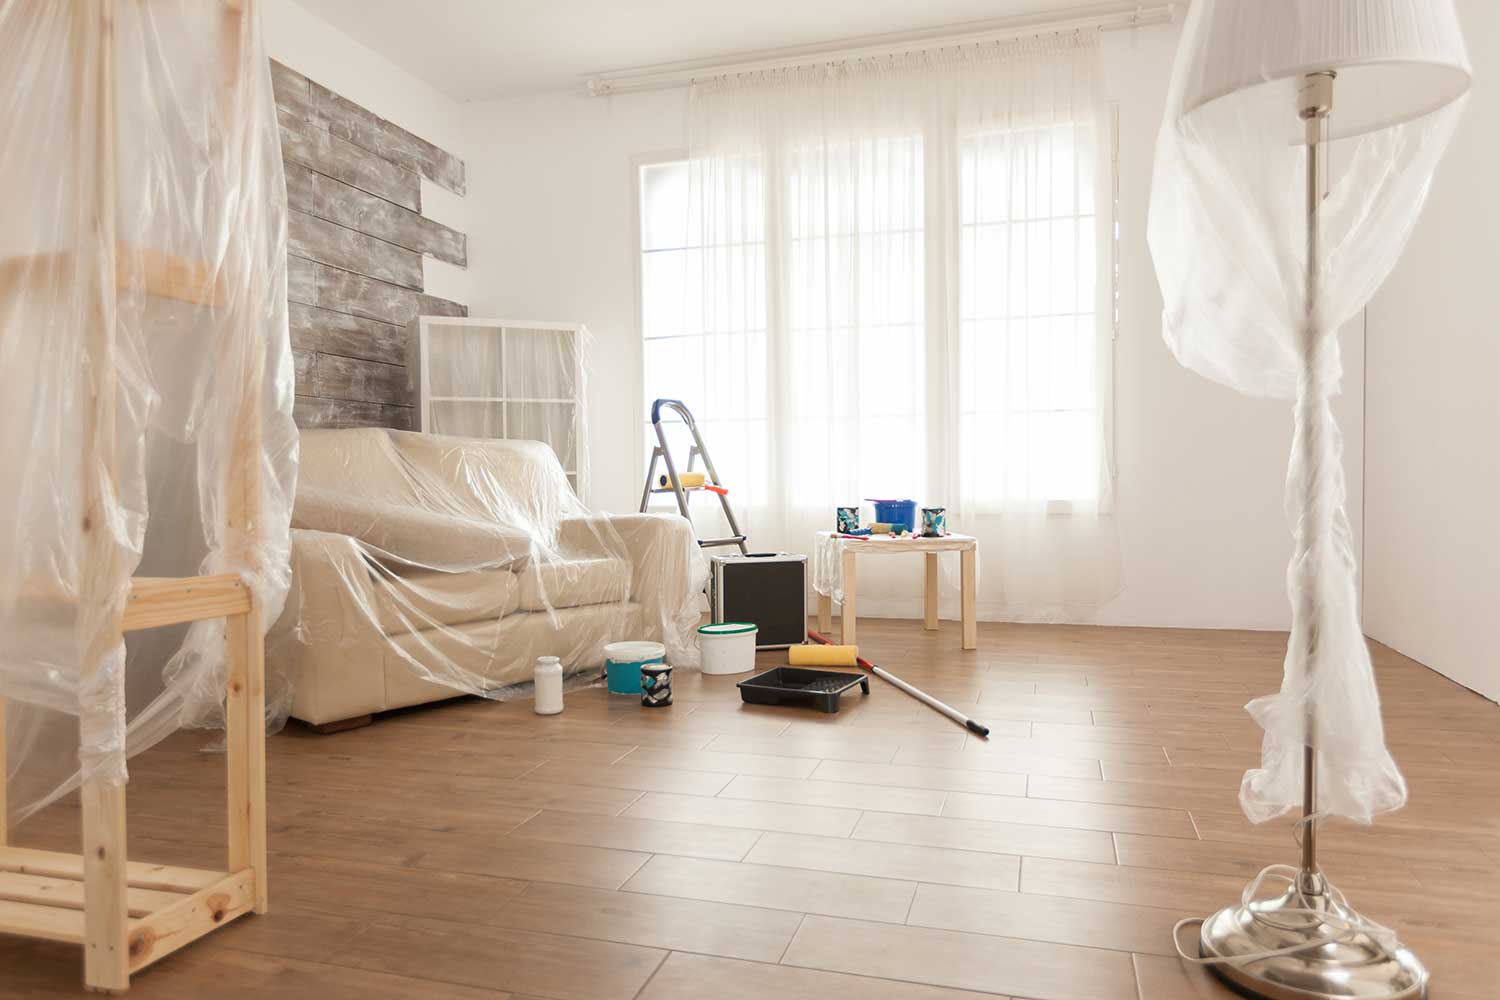
Before you start painting, it’s essential to prepare the room thoroughly. This includes protecting furniture and floors, cleaning the walls, and taping off areas that need to be left unpainted.
- Cover Furniture and Floors: To protect furniture and floors from paint splatters, use drop cloths or plastic sheeting. Secure the coverings with painter’s tape to prevent them from shifting.
- Remove Wall Decor: Take down all wall decor, including pictures, mirrors, and shelves. This allows for easier access to the walls and prevents paint from getting on the decor.
- Clean the Walls: Wash the walls with a mild detergent and water to remove dirt, grease, and dust. Allow the walls to dry completely before painting.
- Patch and Sand: Repair any cracks, holes, or imperfections in the walls with spackle or patching compound. Once the patching compound has dried, sand it smooth with fine-grit sandpaper.
- Tape Off Areas: Use painter’s tape to mask off areas that you don’t want to paint, such as trim, windows, doors, and ceilings. Apply the tape firmly and smoothly to create a clean line.
Applying Paint to the Walls
Applying paint to the walls requires proper techniques to achieve a smooth and even finish.
- Choose the Right Paint: Select a paint that is suitable for your walls, such as latex or acrylic paint. Consider the finish you desire, such as matte, satin, or gloss.
- Stir the Paint: Thoroughly stir the paint to ensure that the pigment and binder are evenly distributed.
- Cut In: Use a brush to paint a 2-3 inch strip around the edges of the walls, near the ceiling, and along the trim. This is called “cutting in” and helps create clean lines.
- Roll the Walls: Use a paint roller to apply paint to the main areas of the walls. Load the roller with paint and roll in a “W” pattern to ensure even coverage.
- Apply Second Coat: After the first coat of paint has dried, apply a second coat to achieve full coverage and a more even finish.
Painting Trim, Doors, and Windows
Painting trim, doors, and windows requires precision to achieve sharp lines and consistent coverage.
- Prepare the Surfaces: Clean the trim, doors, and windows with a damp cloth to remove dust and debris.
- Tape Off: Use painter’s tape to mask off areas that you don’t want to paint, such as the glass on windows and doors.
- Prime: Apply a primer to the trim, doors, and windows to create a smooth and even surface for the paint.
- Paint the Trim: Use a brush to paint the trim, paying attention to the edges and corners.
- Paint the Doors and Windows: Use a brush or roller to paint the doors and windows, ensuring that you cover all surfaces evenly.
Essential Tasks for a Successful Paint Job
Once the painting is complete, there are a few essential tasks to ensure a successful finish.
- Clean Up: Clean up any paint spills or splatters immediately. Dispose of paint brushes and rollers properly.
- Remove Tape: Carefully remove the painter’s tape after the paint has dried.
- Allow Paint to Dry: Allow the paint to dry completely before moving furniture back into the room.
Visual Guide to Painting Techniques
Cutting In: Use a brush to paint a narrow strip around the edges of the walls, near the ceiling, and along the trim. This technique helps create clean lines and prevents paint from spilling onto areas you don’t want to paint.
Rolling: Use a paint roller to apply paint to the main areas of the walls. Load the roller with paint and roll in a “W” pattern to ensure even coverage.
Using a Brush: Use a brush to paint small areas, such as trim, doors, and windows. Choose a brush with the appropriate size and bristle type for the job.
Tips for Efficient Painting

Painting a bedroom can be a rewarding project, but it can also be time-consuming. With a little planning and the right techniques, you can streamline the process and get the job done efficiently.
Utilizing Tools and Techniques for Efficiency
The right tools and techniques can significantly reduce painting time. A paint sprayer, for instance, can cover a large area quickly and evenly, making it an ideal choice for large bedrooms or those with intricate trim. While it might seem like an added expense, hiring a professional painter can save you valuable time and effort, especially if you lack experience or have a complex design in mind. However, remember to factor in the cost of hiring a professional when budgeting for your project.
Benefits of High-Quality Materials
Investing in high-quality paint and tools can save you time and effort in the long run. High-quality paint, for example, provides better coverage and dries faster, reducing the number of coats required and allowing you to complete the project more quickly. Durable brushes and rollers can also minimize the need for constant cleaning and replacement, saving you time and money.
Preventing Common Painting Mistakes, How long to paint a bedroom
Avoiding common painting mistakes can save you time and frustration. Here are some tips to prevent drips, streaks, and uneven coverage:
- Use painter’s tape to protect areas you don’t want to paint. This helps ensure clean lines and prevents paint from getting on trim or other surfaces.
- Use a paint tray liner to keep your paint clean and prevent spills. This will also help you to avoid having to clean your tray as often.
- Use a paint roller with a nap length that is appropriate for the surface you are painting. A longer nap is best for rough surfaces, while a shorter nap is better for smooth surfaces.
- Apply paint in thin, even coats. This will help to prevent drips and ensure that the paint dries evenly.
- Use a brush to cut in around edges and corners. This will help to create a clean and professional finish.
Resources for Effective Painting
There are many resources available to help you paint your bedroom efficiently. Online tutorials and painting guides can provide valuable information on techniques, tools, and tips for achieving professional results. For example, websites like “This Old House” or “DIY Network” offer comprehensive guides and videos covering various painting techniques and troubleshooting tips.
Maintaining a Clean and Organized Workspace
Maintaining a clean and organized workspace is crucial for efficient painting. A cluttered space can lead to accidents, delays, and frustration. Here are some tips for keeping your workspace clean and organized:
- Clear the room of furniture and belongings before you begin painting. This will give you ample space to work and prevent paint from getting on your furniture.
- Cover floors and furniture with drop cloths to protect them from paint spills. This will also make cleanup easier.
- Keep your paint supplies organized and within easy reach. This will save you time and effort when you need to access them.
- Clean up spills and drips immediately. This will prevent them from drying and becoming difficult to remove.
